Let’s set up your first CI/CD pipeline from scratch. Learn GitHub Actions, automated testing, and deployment to a cloud VPS server.
What is a CI/CD Pipeline?
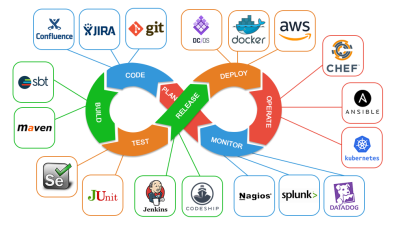
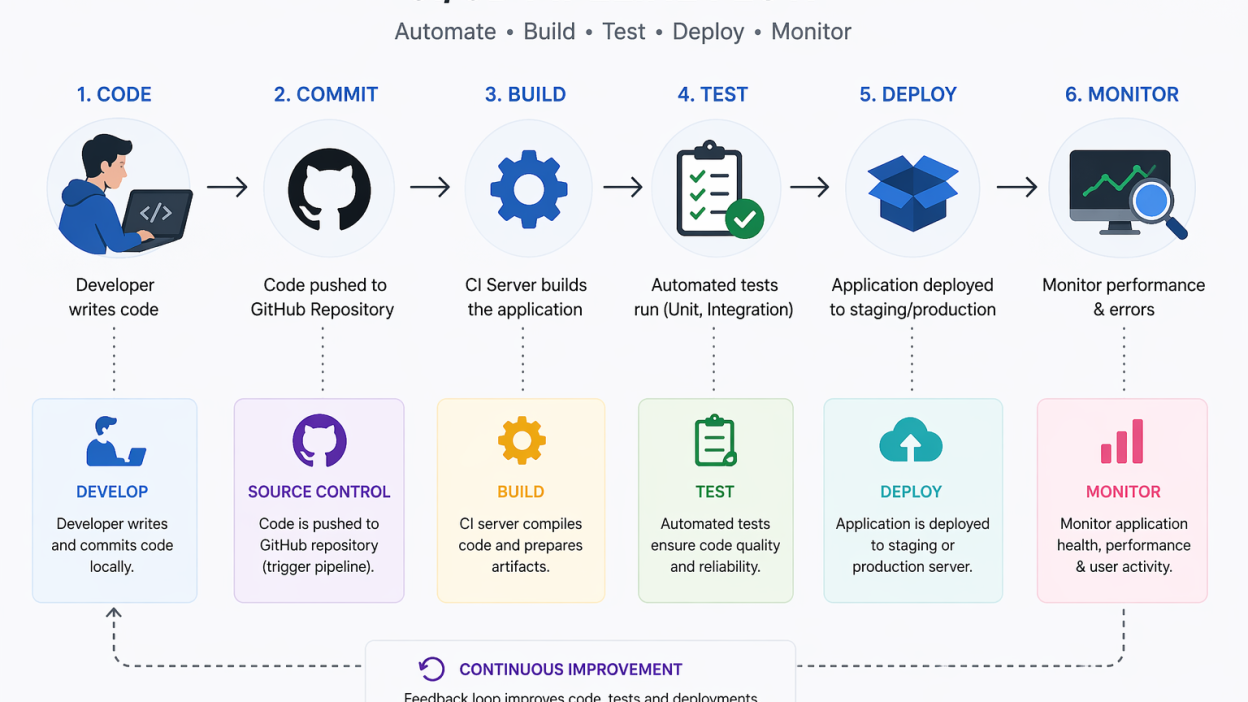
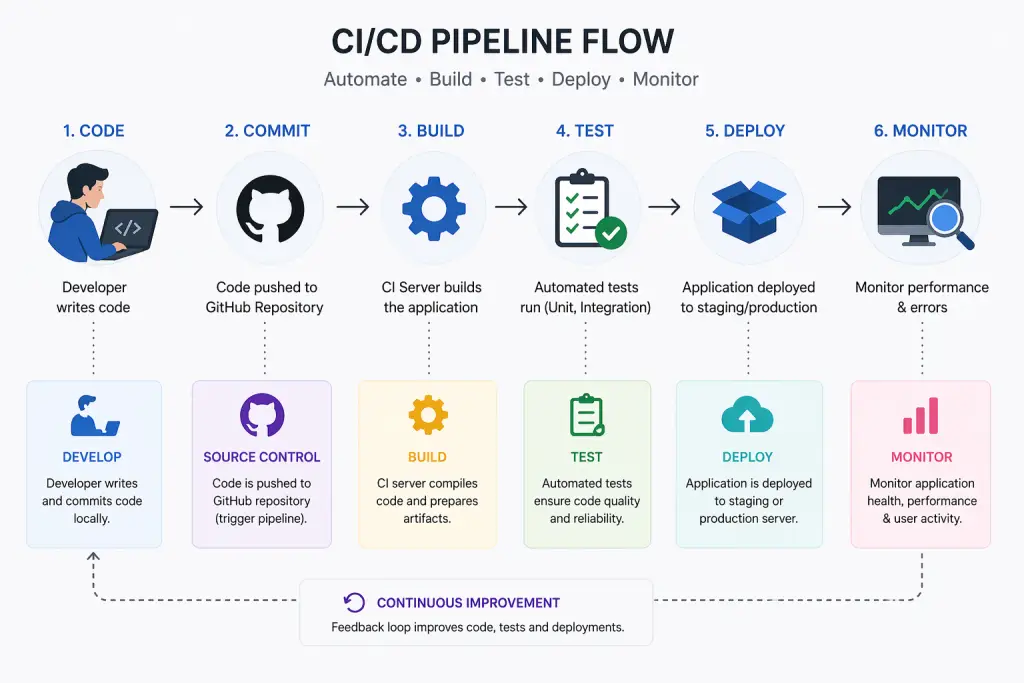
Every time a change is made, your code is automatically built, tested, and deployed using a CI/CD pipeline.
When developers make changes, Continuous Integration (CI) automatically builds and tests the code.
Code is automatically prepared or released to production with Continuous Delivery/Deployment (CD).
To put it simply:
Code may be moved from development to production more quickly, safely, and without the need for human labour, thanks to CI/CD.
CI vs CD vs CD — What’s the Difference?
This is confusing to a lot of people, so let’s make it simple:
- CI, or continuous integration:
Code is often merged by developers, resulting in automatic build and test runs. - Continuous Delivery (CD):
Code is always prepared for deployment, but it needs to be approved manually. - CD, or continuous deployment:
Without human intervention, code is automatically delivered to production.
A brief synopsis
CI stands for Build & Test.
CD (Deployment) = Auto Deploy
CD (Delivery) = Ready to Deploy
Prerequisites Before You Start
Before setting up a CI/CD pipeline, make sure you have:
- Basic Git knowledge (clone, commit, push)
- Comfortable with Linux server commands
- Access to a cloud server (VPS / EC2 / Hetzner)
- A Git repository (GitHub/GitLab)
Step 1 — Choose Your CI/CD Tool
There are many CI/CD tools available. Here’s a practical comparison:
Commonly Used Tools
Recommendation Matrix
| Team Size | Recommended Tool |
|---|---|
| Solo / Beginner | GitHub Actions |
| Small Team | GitLab CI |
| Large Enterprise | Jenkins |
| SaaS Teams | CircleCI |
GitHub Actions is the best option for 2025.
Since it’s
- Free for brief use
- GitHub integration
- Simple to set up
Step 2: Establish Your Branching and Repository Strategy
An effective branching strategy keeps deployment pandemonium at bay.
Suggested Organization: Main → Production dev → Development feature→New features
Workflow
- A feature branch is created by the developer
- Code is pushed ← Pull Request
- Deployment is triggered by merging into the main CI/CD pipeline after testing.
We refer to this as a streamlined Git Flow.
Step 3: Create Your Initial Pipeline File (GitHub Actions)
The crucial step is now to build your pipeline.
Create this file:
.github/workflows/deploy.ymlExample CI/CD Pipeline (Node.js App)
name: CI/CD Pipeline

on:
  push:
    branches:
      - main

jobs:
  build-test-deploy:
    runs-on: ubuntu-latest

    steps:
    - name: Checkout code
      uses: actions/checkout@v3

    - name: Setup Node.js
      uses: actions/setup-node@v3
      with:
        node-version: '18'

    - name: Install dependencies
      run: npm install

    - name: Run tests
      run: npm test

    - name: Deploy to VPS via SSH
      uses: appleboy/[email protected]
      with:
        host: ${{ secrets.SERVER_IP }}
        username: root
        key: ${{ secrets.SSH_PRIVATE_KEY }}
        script: |
          cd /var/www/app
          git pull origin main
          npm install
          pm2 restart app
The Functions of This Pipeline
- pulls code from GitHub
- Dependencies are installed
- conducts tests
- uses SSH to deploy to your server
This pipeline consists of Build → Test → Deploy.
Step 4 — Add Automated Tests
CI/CD is dependable because of testing.
Examples of Tools
- PHP: PHPUnit
- Node.js: Jest
- Java: JUnit
The Significance of Tests
Without assessments:
- Production is affected by bugs.
- Deployments become dangerous
Fail-Fast Approach
If testing are unsuccessful, the pipeline stops right away.
Broken deployments are avoided as a result.
Step 5: Deploy on Your Server
Let’s now link your pipeline to your VPS.
Option 1: SSH Deployment (Easy & Popular)
Steps
- Generate SSH key:
ssh-keygen -t rsa- Add public key to your server:
~/.ssh/authorized_keys- Add secrets in GitHub:
- SERVER_IP
–SSH_PRIVATE_KEY
- Use SSH action (already shown above)
Option 2: Advanced Docker Deployment
Rather than directly installing code:
- Construct a Docker image
- Push to the registry
- Pull and launch the server’s container
Example:
- name: Build Docker image
  run: docker build -t myapp .

- name: Run container
  run: docker run -d -p 80:80 myapp
Docker creates deployments:
- Reliable and scalable
- Easier to reverse
Common CI/CD Errors & How to Fix Them
- Permission Denied (SSH)
Cause: Wrong SSH key or permissions
Fix: chmod 600 ~/.ssh/id_rsa - Environment Variables Not Working
Cause: Missing secrets in pipeline
Fix: Add them in GitHub Secrets - Pipeline Fails Randomly
Cause: Dependency or caching issue
Fix:
– Clear cache
– Lock dependency versions - Deployment Not Updating
Cause: Git not pulling latest code
Fix: git pull origin main
FAQ
What is the setup time for CI/CD?
For beginners: Approximately two to five hours
30 to 60 minutes for seasoned engineers
Does Docker have to be used for CI/CD?
No, because Docker creates deployments:
More dependable and easier to grow
Suggested for production settings.
Final Remarks
CI/CD is now essential for modern uses and is no longer optional.
By establishing a pipeline for CI/CD, you:
- Deploy more quickly
- Cut down on human error
- Boost dependability
- Easily scale your infrastructure